Thursday, June 10, 2010

Egg Roll with Corn and Cheese - (콘 치즈 계란말이)

It’s that time of the year again.  =/ 

I’m sitting here on the eve of yet another scan.  This is the time where I learn if I get to live life as normal again for the next six months or if I’m a *patient* again.  I go in for an MRI early tomorrow morning.  Not.looking.forward.to.it.  AT ALL. 

It’s weird living as a cancer patient.  Life after treatment was supposed to be *great* and oh so wonderful.  Instead, I find myself in this constant state of limbo.  Sometimes it’s as if I’m just sitting here waiting for the ball to drop again.

I find myself wishing I could run away far up into the mountains and live amongst the birds and not worry about anything in this “real” world. 

Anyhow, coming back from my fantasy world…


I decided to make some corn cheese eggs this week…just because.  Corn + cheese = gooey goodness right?  =)

Ingredients Needed:

  • 2 Eggs
  • 1/4 CUP frozen corn
  • 2 slices of cheese


IMG_4585     
Grab two eggs!


IMG_4587    
Mix it up with a splash of milk!


IMG_4592    
I used a sifter this week to make sure the egg was nice and smooth and would FLIP over nicely.


IMG_4594    
Cook on low heat…


IMG_4596    
Go and grab two slices of cheese!


IMG_4600     
Heat about 1/4 CUP of frozen corn in the microwave for about a minute.


IMG_4601    
Place the cheese in the middle.


IMG_4603     
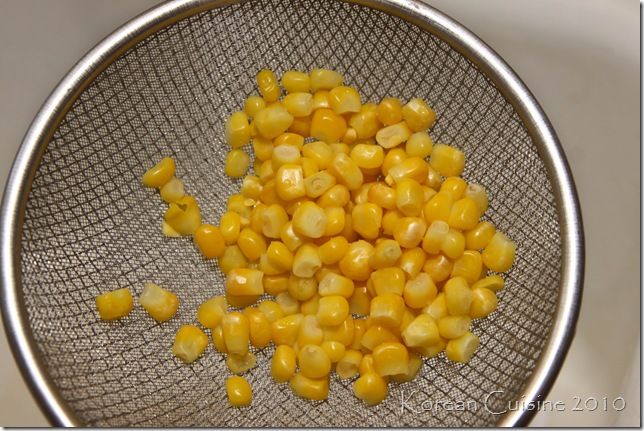
Drain the corn…


IMG_4605      
And place it on top of the cheese!


IMG_4607      
Roll it up!  Again, the key is low heat and rolling slowly.


IMG_4624    
Slice the eggs up and you’re ready to eat!


IMG_4629     
Corn cheesy!  And this just reminded me that I should put up a corn cheese recipe too.  You know, the ones they have at sool-jips?  =P  Take care folks!  I’ll be going away this weekend for a much needed refresher and will be back next week.
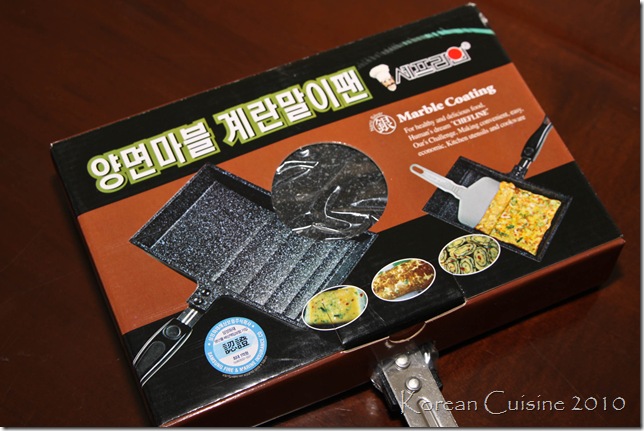
 

IMG_4695     
I went out this week and purchased this roller pan for eggs!  I can’t wait to try it later this week. 

Wednesday, June 9, 2010

Shik-Hae – Sweet Rice Drink (dessert!) - 식혜

After reading one of my recent comments about shik-hae, I immediately started craving it.  I have a thing with food.  If I want to eat something.  *I MUST*  or I become one cranky lil old woman.  =P

Ingredients Needed:

  • 1.5 CUP cooked rice (1/2 sweet rice, 1/2 short grain white rice)
  • 3/4 CUP yut gee-leum (fine malt powder), 1 gallon water
  • 1/3 CUP sugar (add as much as you want to your taste!  I don’t like things *too* sweet)


IMG_4574    
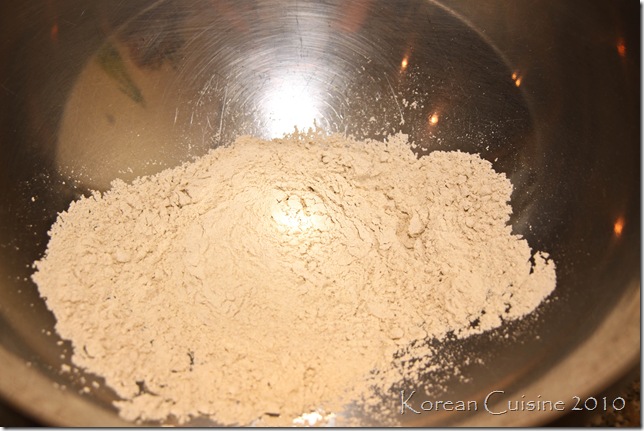
I took a picture of the malt powder so you know what to look for.


IMG_4579   
Put 3/4 cups into the big bowl…


IMG_4582   
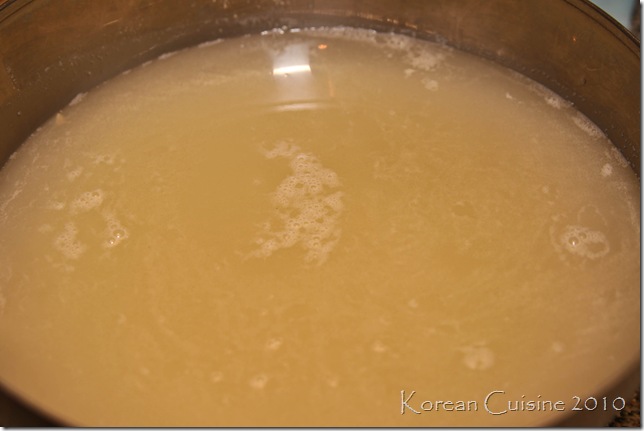
…and cover it with about a gallon of water.  Mix it GENTLY just using your fingers to break apart the clumps.  There’s no need to use a whisk or anything like that.


IMG_4635   
Add some rice into a rice cooker.  If you don’t have a rice cooker, I *think* you can use a crock pot at the lowest setting.  I’ve never tried, but I’m thinking it’s the same concept.  I had this rice leftover so I just used that, but you can use a 50/50 combination of sweet rice and white rice as well.  This is just a regular Korean bowl-full of rice.


IMG_4638   
Let the malt powder/water mixture sit out for about two hours and then CAREFULLY (I used a strainer, but forgot to take a picture) pour out the TOP part.  Basically, just try and pour out the clear liquid at top…


IMG_4640    
And leave the thick malt at the bottom.


IMG_4639   
Add the malt water to the rice…


IMG_4641    
And break apart all the rice pieces and make it nice and smooth.


IMG_4643    
Then close the lid and hit “KEEP WARM!”  Make sure not to COOK the rice.  You just want the temp to be “warm” for FIVE HOURS!  Yup, just press “KEEP WARM” and go and run some errands.


IMG_4645    
After you get back, open the lid and you should see little rice particles floating around.


IMG_4646   
Transfer the rice water mixture into a POT and bring it to a STRONG boil.  At this point I added about 2 CUPS of water and 1/3 CUP of sugar.


IMG_4653    
Skim off any of the gunk that arises.  Then transfer everything into a storage container and let it chill overnight in the fridge.


IMG_4667   
The next morning, you are ready to serve!  Enjoy~~  I will be back later with the *egg roll* update.  I went out and bought a Egg Pan!

Sunday, June 6, 2010

Dol Sot Bibimbap - (돌솥 비빔밥)

Every time my family has an event, I make sure and collect some of all the leftover banchans.  =P  I love that my family that lives less than two miles away.  Anyhow, bibimbap is SUPER easy to make…if you have all the ingredients.  I would *never* go about and try to make each and every ingredient by myself because, quite frankly, I’m lazy.  However, on days like this when all the banchans are already at my disposal, I can whip up bibimbap in less time it would take to make a gook or jjigae.

Ingredients Needed:

  • 1.5 CUPS cooked rice
  • 1/4 cup each of gosari, spinach moochim, doraji, moo bokeum (or moo che), kongnamool, mushroom bokeum, beef (bulgogi, galbi, or you can skip meat and make it vegetarian), cucumber moochim
  • 1 Egg
  • Bibimbap Sauce: 2 TB red pepper paste, 1.5 TB sprite (or 7-UP), 1.5 TB honey powder, 1 TB rice wine, 1.5 TB sesame seeds, 1/2 TB sesame oil, 1/2 TB vinegar, 1/2 TB minced garlic


IMG_4516   
I used a dol sot to heat up the rice AND to make some nooreungji (crispy rice) on the bottom.  You can skip the butter, but I like adding a little just to give the rice a little extra flavor.  =P 


IMG_4518  
Fry an egg, sunny side up.  Some people will add a raw egg directly to the steaming hot dol sot, but I’m squeamish when it comes to raw eggs unless it’s soondooboo.


IMG_4522  
Doraji and Gosari.  I know I don’t have a recipe for these two up yet (will post soon!), so you can just skip these.  Or, if you already know how to make it…go for it!


IMG_4523  
Moo Bokeum, Konamool Moochim, and Spinach Moochim.


IMG_4524  
It was perfect coincidence that I happened to have the cucumber banchan on hand already.


IMG_4526   
Once the butter is melted, add about 1.5 CUPS of cooked rice.  I splashed some sesame oil and sesame seeds on it and then mixed it around and left it on LOW heat so the bottom could get nice and crispy without burning.


IMG_4533  
Then I took some the leftover galbi and heated it up in a pan and cut it into small strips.


IMG_4554  
Get your bibimbap sauce ready!  This is 2 TB red pepper paste, 1.5 TB sprite (or 7-UP), 1.5 TB honey powder, 1 TB rice wine, 1.5 TB sesame seeds, 1/2 TB sesame oil, 1/2 TB vinegar, 1/2 TB minced garlic


IMG_4559  
Place the cooked egg on top of the rice and then arrange all your veggies like so.  I had a screaming Munchkin yelling for food, so I wasn’t able to take a picture of the mushrooms, but I did sauté two sliced mushrooms in some sesame oil and added it there as well.  I just used regular white mushrooms, but if you have Shitake mushrooms – use those!

I used eight items in my bibimbap today. 

Clockwise from the top: gosari, kongnamool, moo, cucumber, beef, mushrooms, spinach, and doraji.  You can add sautéed carrots, or squash, and a whole array of other veggies.  Just use what you have!  No worries.  I should have added some gim as well, but I totally forgot.  Oops.


IMG_4561  
Add the bibimbap sauce to YOUR taste.  I made it a little milder so Munchkin could share this with me.  I stored the leftover sauce so that we can eat this again in the next couple of days.


IMG_4564  
Mix it around and you’re ready to eat!  Munchkin liked this so much today that he said, “Can we save some for later too?  I want to eat it again.”  =)  Hope everyone had a great weekend!  I will be back later in the week with *new* recipes. 

Currently in the works: Shik-Hae, Mook, and a Galbi Jjim update.

Gom Gook - (꼬리 곰탕)

One of my readers asked me to find them this recipe (hey h!) and I’m currently working hard to move all my pictures onto Picasa.  The quality of the pictures seems to be a lot crisper and cleaner than where I had them loaded previously. 

Yes, it’s time consuming.  I realize now that I have over 100 recipes on this blog.  =O  When did I cook so much?!

Anyhow, this is a really old post, but I can’t seem to make it go BACK there without deleting all the comments.  =(  I truly do *love* your comments and read each and every one of them.  I know it’s not easy commenting on a stranger’s blog, so I’m all the more thankful for them. 

So here’s my old recipe as a *new* post.  =)  Enjoy!  


_MG_7670 _MG_7671
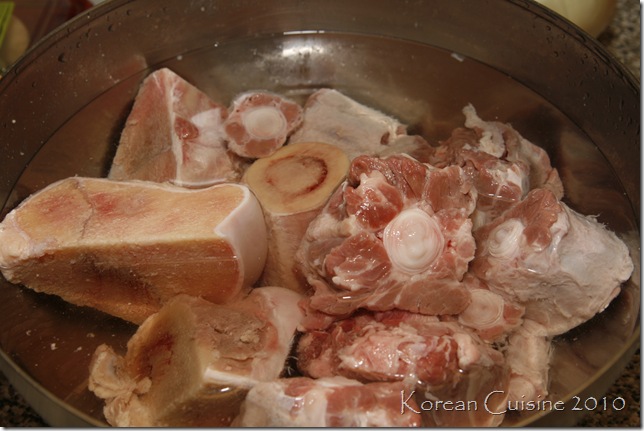
I went and bought about 2.5 lbs. of ox tails and 2.5 of sa-gul (cow bones with bone marrow). I ended up using half that bag of sa-gul and I'm going to use the remaining for PHO sometime next week.

_MG_7673
Begin by washing and draining your bones and meat. Let it sit in cold water for about an hour (or more) and change the water out every 15 minutes or so.  This is to drain all the blood out.

_MG_7674_MG_7675 
Add the bones to a pot of boiling water and just let all the gunk rise to the top.  Boil it for about 15-30 minutes…


_MG_7676
..remove it from the pot and rinse the bones and meat CLEAN.


_MG_7677
Then place it back into the pot and fill it almost to the top with water and let it come to a strong boil. It took an hour for all that water to start boiling. After it's boiling, reduce the heat and let it boil softly for 2 hours.


_MG_7678
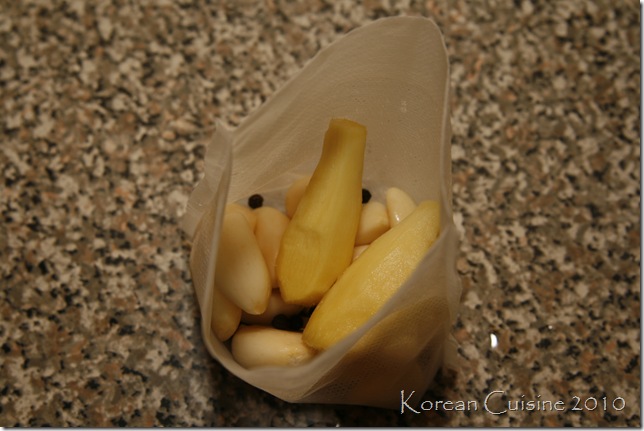
Meanwhile I use my trusty teabags and stuff it with 2 small sprigs of ginger, 15-20 garlic cloves, and 1 spoonful of whole peppercorns.


_MG_7684
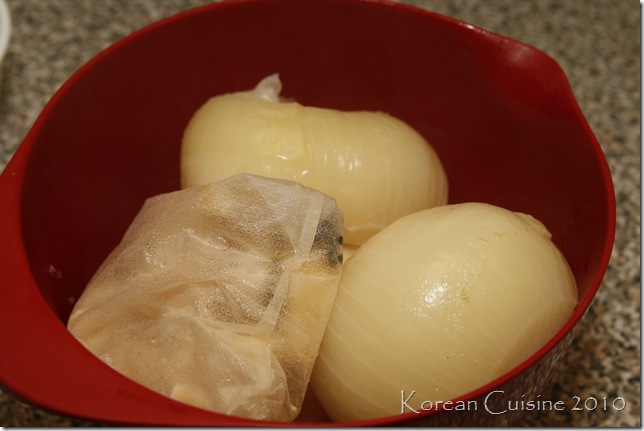
I also washed and peeled about 1 lb. of moo (daikon radish) and 2 large onions.


_MG_7685
After about 2 hours of boiling time, all the oil and fat from the meat starts to rise to the top...


_MG_7686
...just skim the excess oil and discard it.


_MG_7688
At this point, add all the vegetables pictured above. Let it boil for an additional two hours or so… 


_MG_7694
After 2 hours, remove ALL the vegetables. If you cook it any longer, it will start falling apart in the broth and you will lose all the pieces.


_MG_7695
This step is optional. I like my broth to be WHITE, and in order to achieve that, I remove ALL the meat (after about 4-5 hours of boiling)…


_MG_7696
I then preserve all the meat from the ox tails and all the tendons from the bones and place it into a smaller pot for easy access when serving.


_MG_7697
I make sure the bones are clean and then add ONLY the bones back to the pot.

_MG_7698
Once you have all the meat out and the bones back in, lower the heat just enough so that it’s *barely* boiling.  Confused?  You want to make sure there are little bubbles coming up, but not too strong where it’s a rolling boil.


_MG_7700 
Let it cook overnight.  The longer the better.  Seriously.  Look at how white the broth is. It's been simmering for about 14 hours or so and I'm going to continue to do so until the broth is thick and milky.  On average, I let my gom gook cook for almost 24 hours.  =P  I will start taking some of the broth out the next morning to make dduk gook and moo gook or whatever else gook, but I will leave the rest to keep boiling.


_MG_7701 _MG_7702
When you’re ready to serve, add some meat and broth and top it off with green onions.  Salt to taste!  I actually cooked it even longer so the *real* final product was a much whiter broth.


You can let the broth cool down and then FREEZE some of it in ziplocs for later use.  Tastes pretty darn good!


_MG_7703
The gom gook was perfect for the ggak ddoogi from the other day.

LinkWithin

Related Posts with Thumbnails
Bookmark and Share