Monday, September 27, 2010

Spicy Chicken BBQ – Dak Galbi – 닭 갈비

I had all the ingredients for Dak Galbi conveniently on hand, so I decided to give it a go tonight.  I was going to save this post for later, but decided what the heck - I’ve been on a blogging binge eh?  =P


Ingredients Needed:

  • 2 small chicken breasts - I buy the thin breast filets at Ralphs and saran wrap each individual breast and store them in bags in the freezer – I will take a picture one day.
  • 1/2 onion – you can use a whole onion, I just had half an onion lying around.  =)
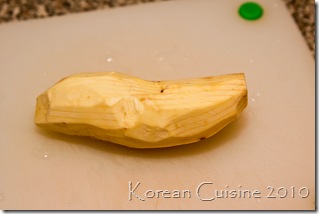
  • 1 small sweet potato
  • 1 CUP of dduk
  • handful of mushrooms
  • 1 jalapeno
  • handful of garlic cloves
  • handful of chopped green onions
  • 1 CUP of noodles (optional)
  • sauce mixture: 1/2 CAN of chicken broth (save the leftover broth for later), 2 TB soy sauce, 1 TB minced garlic, 2 TB red pepper powder, 2 TB gochujang, 1 TB honey powder (or substitute with sugar), 1 TB rice wine(purely optional), 2 TB ketchup
 

IMG_9633

IMG_9634IMG_9638

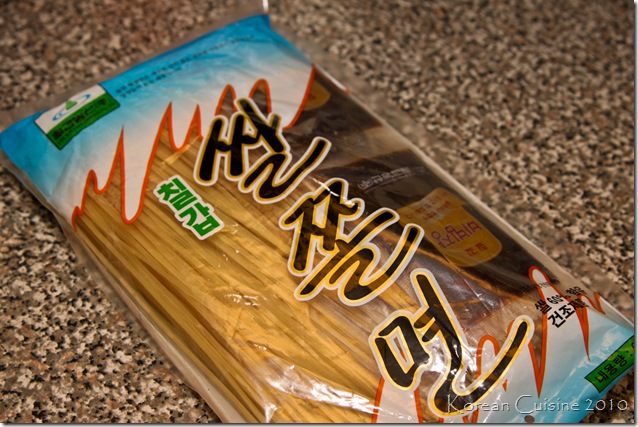
I had an old bag of jjol-myun lurking in my cupboards, so I decided to use it up for this recipe.  If you don’t have noodles, no worries.  Just skip this part.  I like boiling my noodles separately so that I can wash the starch away before adding it into the main meal.  You can totally just add the uncooked noodles straight to the dak galbi if you want though.  No biggie.


IMG_9644IMG_9645

IMG_9635IMG_9636

Next, ready your veggies and dduk.  I used 1 small sweet potato, 1/2 onion, 1 large mushroom, handful of garlic cloves, 1/2 head of cabbage, and a cupful of dduk.  Feel free to add any other veggies you might have such as carrots or squash.


IMG_9646

In a small bowl mix together the following:

  • 1/2 CAN of chicken broth (save the leftover broth for later)
  • 2 TB soy sauce
  • 1 TB minced garlic
  • 2 TB red pepper powder
  • 2 TB red pepper paste (gochujang)
  • 1 TB honey powder (or substitute with sugar)
  • 1 TB rice wine (purely optional)
  • 2 TB ketchup

If you have any questions about any of the ingredients, please take a look at KOREAN COOKING 101.  I often get questions about certain recipe ingredients, and if I don’t reply (sorry!) – it’s probably already on Korean Cooking 101. =P


IMG_9648IMG_9649

First add the sauce and veggies into a pot (I have a jungol pot, but I was too lazy to bring it out today) and let it cook for a little bit.


IMG_9650

Add your cut up chicken breasts next and then mix everything thoroughly.


IMG_9651IMG_9653

Meanwhile, cut up a jalapeno and throw it in there as well with some green onions.


IMG_9654IMG_9656

At this point, I poured in more chicken broth.  I probably could have gotten away with only a little more, but I hate wasting things so I poured in the rest of the can.  =P  It was probably a bit too much, but oh wells.  Anyhow, at this point throw in your noodles!  Your noodles are already cooked, so just let everything simmer together for about five minutes and you’re ready to serve.


IMG_9659IMG_9662

IMG_9668

IMG_9661

Voila~  The MR and Munchkin both devoured this tonight and it was a nice change from our normal routine.  I hope you enjoy it as well!   Whew, I’ve been on a posting rampage today. 

It must be time for another scan soon.  ;)

Choong Chun Dak Galbi - (Restaurant Review)

A couple of weeks ago, nine women met up for some dak galbi at Choong Chun Dak Galbi in K-town.  I know this place has been around for some time, but if you haven’t tried it yet – you should try it at least once.  It’s not mind-blowing by any means, but it’s one of those restaurants I say you should try at least once.


IMG_7232

Anyhow, the reason I posted this picture up is because I plan on replicating this soon.  I have chicken breasts in the freezer along with some cabbage that I need to use up soon…Hmmm, let’s see.

Things I have in the fridge already:

chicken breasts – check!

cabbage – check!

dduk – check!

sweet potatoes – check!

onions – check!

jalapenos – check!

mushrooms – check!


Okay, this is dinner today for sure.  =P

Serrano Chilies in Vinegar Sauce

I was at Bristol Farms a couple of weeks ago and saw that their Serrano chilies looked particularly fresh, so I picked up a bunch.  At first, I was going to pickle them in soy sauce, but then I remembered the chilies they serve at Thai restaurants and decided to make those instead.  Anyhow, here goes my rendition.  I made this over the weekend and did a taste test today and so far, so good.


IMG_9614

Begin by washing and drying your chilies.  I honestly don’t know how much I bought.  Probably a few handfuls.  =P


IMG_9615

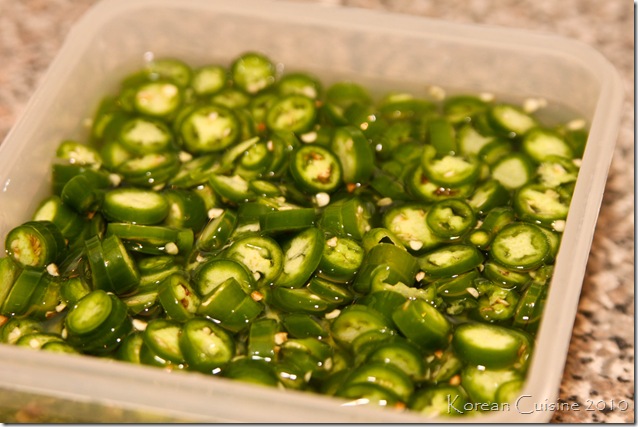
Then just start slicing away at them.  Try to slice them as thing as you can.  Usually I would use a mandolin, but these Serrano chilies were so skinny that it was easier to just chop.


IMG_9616

I ended up with about 1 CUP of sliced chilies.  If you need EXACT measurements.


IMG_9617

Then just pour in a mixture of: 1 CUP water, 3/4 CUP vinegar, and 1 TB sugar.


IMG_9619

Let it sit for about a week or so inside the fridge and you’re ready to enjoy.  It’s quite high on the spice scale so beware!  Hope everyone in Cali is keeping cool in this crazy heat wave.  I will be back soon with a Spicy Chicken Gizzard Recipe later tonight.  =)

Saturday, September 25, 2010

Spicy Serrano Chiles in Vinegar and Sugar

Yup, an update will be coming soon.

I promise.

It's nothing fancy, but it's something in my fridge at the moment. =)

I missed you all once again.

Hope you have been well.

Tuesday, September 14, 2010

Chicken Gizzard Stir-fry - Dak Ddong Jjip - (닭똥집 볶음)


Our lives have been so busy these last two weeks now that Munchkin is officially a Kindergartener.  I know it’s such a cliché, but it seriously seems like just yesterday that he was born and look at him now - all grown up and going to school to LEARN.  Munchkin has been in preschool since he was 2.5 years old, so this adjustment has been pretty easy for him…so far.  He’s bringing home homework, making new friends and just growing up at lightening speed. 


INGREDIENTS:

  • 1 CUP chicken gizzard
  • 1 TB sesame oil
  • 1 TB mince garlic
  • dash of salt and pepper
  • 1/2 onion, 1 jalapeno, and 2 whole garlic bulbs (or a handful of cloves)


IMG_7199

The MR and I happened to be at Seafood City today and I saw that the chicken gizzards looked pretty fresh, so I picked up a package and was determined to make dak-ddong-jip for the MR.  This dish is more of an *appetizer* for beer or soju than it is an entree.  This package was about 1.5 LBS and I divided it up and froze the portions I wasn’t going to use.  Only the MR and I would eat this, so I only used about 1 CUP of chicken gizzard.


IMG_7200

Take your cup of chicken gizzard and begin by cutting away the little white parts.  You don’t *HAVE* to do this, but that part is pretty tough and I prefer to just remove it.  I also like cutting up the gizzards into smaller pieces because I want them to be extra crispy when fried later.


IMG_7202IMG_7203

After you’ve cut up the gizzards, throw in a handful of flour and salt and scrub away.  My mom tells me this is to get rid of all the gunk in the gizzards.  Afterwards, make sure to rinse numerous times under cool water.


IMG_7204

Rinse the gizzards until the water runs CLEAR and bring a pot of water to a boil…


IMG_7201IMG_7205

While waiting for the water to boil, go and grab your garlic bulbs and start peeling away.


IMG_7207IMG_7210

When the water boils, add the gizzards and let it boil for about 5-7 minutes.  This will help rid of the impurities.


IMG_7209

While the gizzard is boiling, ready the remainder of your vegetables.  Slice up half an onion and one jalapeno.


IMG_7212IMG_7213

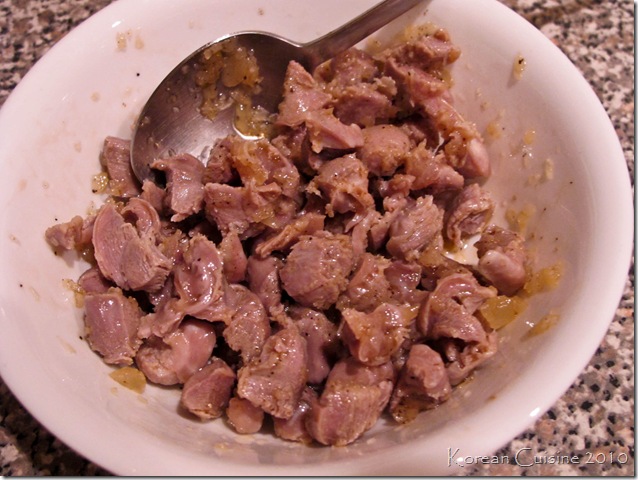
When the gizzards are done boiling, rinse it under cool water and then drain all the excess liquid.  Then marinate the gizzards in: 1 TB of minced garlic, 1/2 TB of sesame oil, and a dash of salt and pepper.


IMG_7214

Mix it thoroughly and let it sit for a bit.


IMG_7215IMG_7217

Drizzle some oil on a pan and let it get piping hot.  First add your vegetables and stir away.


IMG_7218IMG_7220

After a few minutes, add the gizzards and keep frying until the garlic gloves start to brown.


IMG_7221

Voila!  You’re almost ready to serve!


IMG_7223

Plate it and sprinkle some sesame seeds on top right before serving.


IMG_7225IMG_7228

I personally like dipping mine in a soy sauce/vinegar/wasabi mix.  The MR, on the other hand, prefers the good old-fashioned sesame oil with salt and pepper.


IMG_7226

Enjoy!  Like I said at the start of this entry.  This is more of an *an-joo* which is an *appetizer* served at sool-jips (bars).  The MR ate his with an ice cold Bud.  =)

P.S.  This is the first time I took food pictures with my G11 versus my 50D.  My 50D was in my car and I was too lazy to go and get it so I decided to experiment with the G11 instead.  Not bad at all for a P&S.  =P

Saturday, September 4, 2010

Noo-Roong-Ji (누룽지) – Burnt Rice Snack (?)

Hello everyone!  I know I’ve been MIA forever and ever.  This blog is always in the back of my mind and I often think, “This is the week where I will finally update…” and then another week passes and I find myself  doing other things.  =/  So again – my apologies first.

Life has been trudging along as usual.  I’m quickly approaching my two-year cancer anniversary and it’s unbelievable how quickly time has passed.  My life will never be the same, but my sense of normalcy is just now starting to come back.  There are actually some days I am able to forget what has happened – and those are the days that I call “good days.” 

There are more good days than bad.

Anyhow, I’m not cooking as much as I used to.  I’m not sure if it’s laziness, the heat, fatigue or a combination of everything – but I’m just not finding myself in the kitchen anymore.


IMG_8359

This morning I awoke and after feeding Munchkin some miyuk gook, I decided to make myself one of these.  While making it – I realized I had some leftover rice and thought this would be the perfect opportunity to update my blog.  =P


IMG_8355 

Making noo-roong-ji is super easy.  Just grab a pan…


IMG_8357

Fill a bowl with some water and get your rice scooper…


IMG_8366

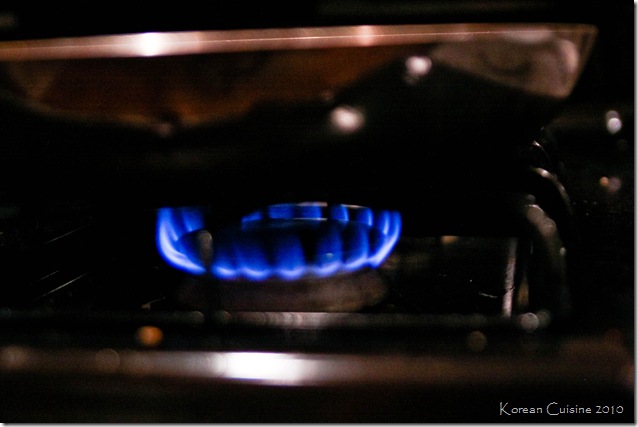
Turn the heat on medium-low…


IMG_8368 

…and then simply flatten your rice out like this.  Since Koreans tend to eat stickier rice, wet the rice spoon with water so that it doesn’t stick.  Press the rice down flat and then just let it cook for about 10-15 minutes on one side.


IMG_8374

Flip it over and then let it brown on the other side as well.


IMG_8381

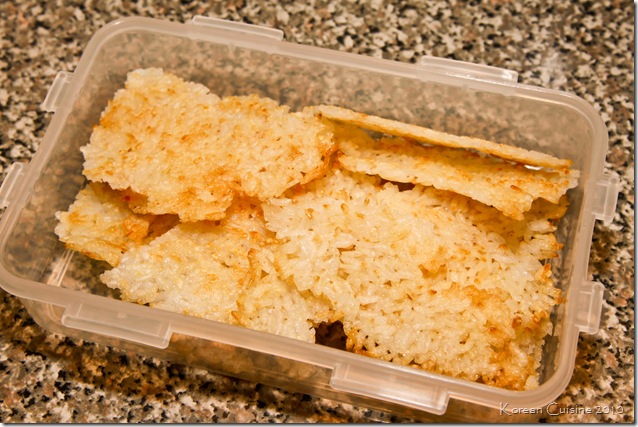
I usually just make a bunch and store it in the freezer in Tupperware.


IMG_8385

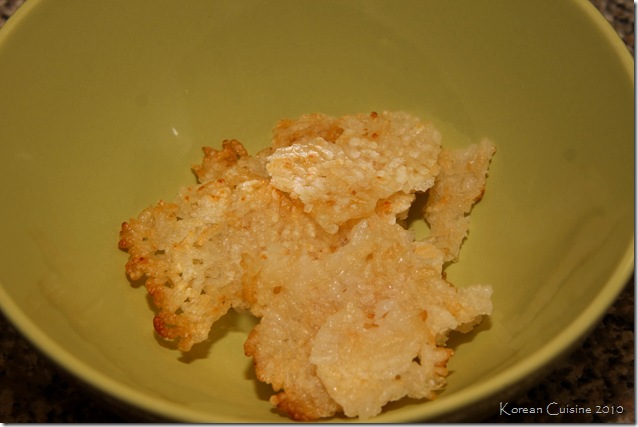
Whenever you’re ready to eat, just grab some and place it in a bowl (or you can just boil it).


IMG_8388

Boil some water…


IMG_8391

Add just enough water like this.


IMG_8394

And then cover it with another bowl or use a lid like this.  Let it sit for about 10-15 minutes.


IMG_8402

And you’re ready to enjoy!  I took this picture too soon, but if you leave it longer – the noo-roong-ji will be softer and the water will be milkier.  =)  I had to leave the house so this picture was just for blog purposes.  Anyhow, you can even fry the pieces and sprinkle some sugar on it too and eat it as a snack.  I’ll post up a “how-to” of that later this week if I have time.

I hope everyone has a safe and peaceful Labor Day weekend!

My little Munchkin is starting Kindy next week and it’s just so surreal.  I cannot believe my little boy has grown up so much.  =P

LinkWithin

Related Posts with Thumbnails
Bookmark and Share